The purpose of this document is to help with the creation of MP3 files for accommodations during tests.
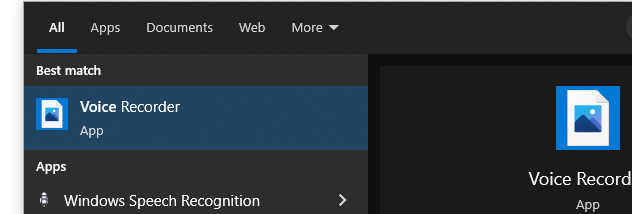
Open the start menu and type voice
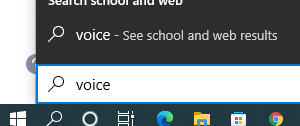
Open the “Voice Recorder” app, allowing permissions if it asks to use your microphone
Click the button with the microphone to start a recording, click the same button to end a recording.
Right click the newly created file and choose “Rename”, picking a name that is descriptive but not too long. For example:
“Eng 20-1 Unit 3 Test”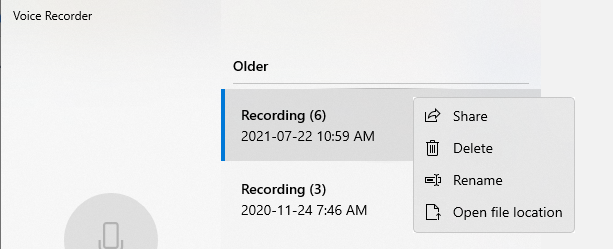
Because the app saves the files in M4A format, next we convert it to MP3. Right click the newly created file again and choose “Open file location”. By default, the files are saved in a folder named “Sound recordings” in your Documents folder (which is the same as your OneDrive folder). The point is to know where the files are for the following steps.
Open VLC Media Player. If a box pops up asking about updates and metadata, uncheck the metadata box and leave the updates box checked.

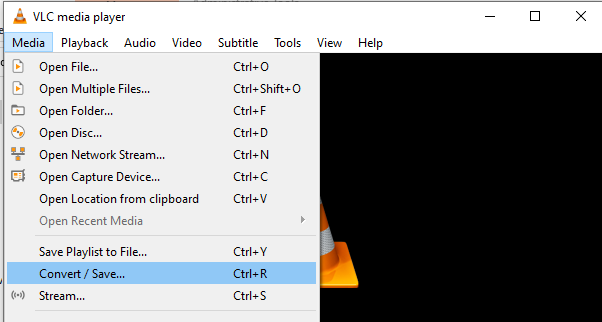
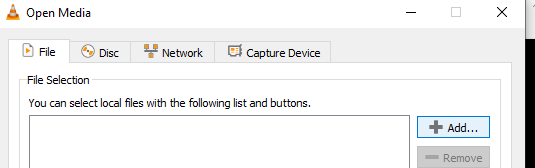
Open the “Media” menu and choose “Convert / Save…”
Click the “+ Add…” button, then navigate to your “Documents” → “Sound recordings” folder (or wherever your recordings were saved), then choose the file you wish to convert and click “Open”.
Click the “Convert /Save” button
Change the “Profile” to “Audio - MP3”, then click “Browse”. Navigate to the folder you want to save in and give your new MP3 file a name, making sure to include the “.mp3” on the end.
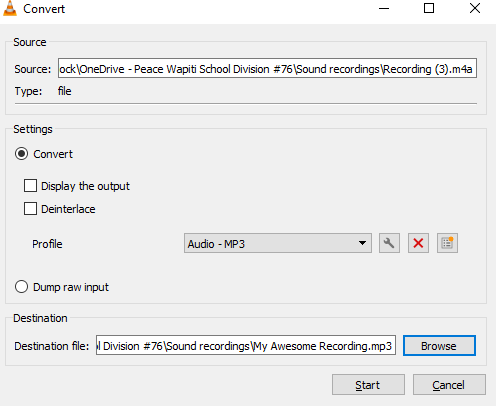
Click “Start”. Depending on how long the audio file is, the process can take varying lengths of time. The bar at the bottom will show the progress, if it is just grey then likely the file was small enough that the conversion was very quick.

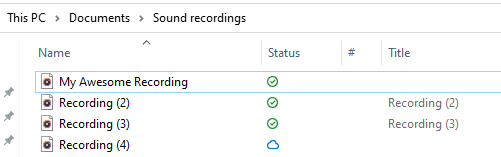
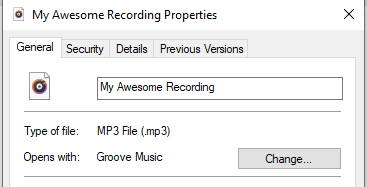
The new file is in the folder you indicated. To verify it is an MP3, right click it and choose “Properties”.
If using this with a Google account (student’s account or a testing account), you will now want to upload it to your Drive. We recommend having this type of content organized in its own space. You then share the MP3 as you would any other type of document in Drive with the account the student will be using to access and listen.
When the assignment/test is done, please make sure to go back to the file in your Drive and remove the shares.